
How to Make Soft & Round Roti
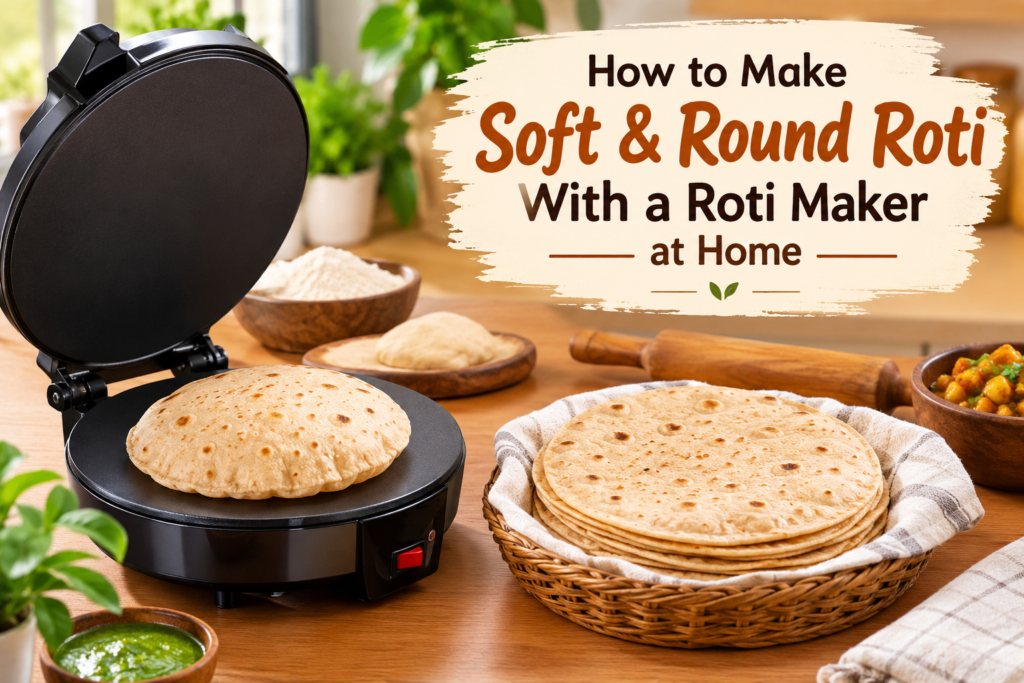
Making soft, round, and delicious rotis can be challenging, especially for beginners. Uneven rolling, dry dough, or incorrect cooking temperature can make rotis hard or misshapen. A roti maker can make the process https://nlsenterprises.in/ easier and help you prepare evenly shaped rotis at home.
Whether you are a beginner or simply want to save time in the kitchen, learning how to use a roti maker properly can help you make soft and round rotis with less effort.
In this guide, you will learn how to make soft and round roti with a roti maker, how to prepare the right dough, how to use the appliance correctly, and how to avoid common mistakes.
What Is a Roti Maker?
A roti maker is a kitchen appliance designed to help prepare rotis quickly and conveniently. Depending on the type, it may flatten the dough, cook the roti, or help with both steps.
A good roti maker can be especially useful for beginners, busy families, and anyone who wants consistent roti shapes and sizes.
Ingredients You Need
To make soft rotis with a roti maker, you only need a few basic ingredients:
- 2 cups whole wheat flour (atta)
- About ¾ to 1 cup lukewarm water
- ½ teaspoon salt (optional)
- 1 teaspoon oil or ghee (optional)
- Extra dry flour for dusting
The most important part is preparing a soft and smooth dough. The quality of the dough directly affects the texture of your roti.
Step 1: Prepare Soft Roti Dough
Start by adding whole wheat flour to a large mixing bowl. Gradually add lukewarm water while mixing the flour with your fingers.
Do not add all the water at once. Add it slowly until the flour comes together.
Knead the dough for around 6–8 minutes until it becomes smooth and soft. If the dough feels too dry, add a little water. If it becomes sticky, add a small amount of flour.
For softer rotis, you can add a teaspoon of oil or ghee while kneading.
Cover the dough with a clean cloth and let it rest for about 15–20 minutes.
Why Is Resting the Dough Important?
Resting allows the flour to absorb the water properly and helps relax the gluten. This makes the dough easier to handle and can result in softer rotis.
Step 2: Divide the Dough
After resting, knead the dough gently once again.
Divide it into equal-sized portions and roll each portion between your palms to make smooth dough balls.
Try to keep the balls similar in size. This helps you make rotis with a consistent size and thickness.
Step 3: Preheat the Roti Maker
If you are using an electric roti maker, preheat it according to the manufacturer’s instructions.
A properly heated surface is important because an underheated roti maker may cook the roti unevenly, while excessive heat can make the outside cook too quickly.
Always follow the temperature and safety instructions provided with your particular roti maker.
Step 4: Flatten the Dough Ball
Take one dough ball and lightly dust it with dry wheat flour.
Place it on the appropriate surface of the roti maker. Close or press the appliance gently, depending on its design.
Avoid applying excessive pressure. The goal is to create an evenly thin, round roti without making it too thin.
If your roti maker is designed to flatten dough rather than cook it, transfer the flattened roti to a hot tawa for cooking.
Step 5: Cook the Roti Properly
Place the flattened roti on a preheated tawa if required.
Cook until small bubbles begin to appear on the surface. Flip the roti and cook the other side.
For a softer roti, avoid cooking it for too long. Once light brown spots appear and the roti is cooked, remove it from the tawa.
If your appliance cooks the roti directly, follow the manufacturer’s recommended cooking process.
Step 6: Keep Rotis Soft
Once cooked, place the rotis inside a clean, insulated roti container or cover them with a clean kitchen cloth.
You can lightly apply ghee to the roti if you prefer a richer taste.
Keeping cooked rotis covered prevents them from losing moisture and becoming dry.
Tips for Making Soft & Round Rotis With a Roti Maker
1. Use Fresh Wheat Flour
Fresh, good-quality whole wheat flour can help improve the taste and texture of your rotis.
2. Get the Dough Consistency Right
The dough should be soft and pliable, not hard or excessively sticky.
3. Do Not Use Too Much Dry Flour
Excessive flour while flattening can make the roti dry. Use only enough to prevent sticking.
4. Make Equal Dough Balls
Similar-sized dough balls make it easier to achieve evenly sized rotis.
5. Avoid Overcooking
Overcooking removes moisture and can make rotis hard. Cook them just until they are done.
6. Keep Cooked Rotis Covered
Place finished rotis in a covered container or wrap them in a clean cloth to retain softness.
Common Mistakes to Avoid
Many beginners make a few simple mistakes when using a roti maker. Avoid using very hard dough, because it can produce tough rotis. Similarly, excessively wet dough can stick to the appliance.
Do not press the roti maker too aggressively, and avoid leaving the roti on high heat for too long.
Another common mistake is skipping the dough-resting step. Giving the dough enough resting time can make it easier to work with.
Frequently Asked Questions
Can a roti maker make perfectly round rotis?
Yes, a roti maker can help create more evenly shaped rotis, especially when the dough balls are equal in size and properly flattened.
Why are my rotis hard when using a roti maker?
Hard rotis can result from stiff dough, insufficient resting time, excessive dry flour, low moisture, or overcooking.
How long should roti dough rest?
Allowing the dough to rest for around 15–20 minutes is a useful starting point. Depending on the flour and recipe, resting for longer may also work.
Can I use a roti maker without oil?
Yes. Traditional roti can be prepared without oil. You can add a small amount of ghee after cooking if desired.
Is a roti maker good for beginners?
Yes. A roti maker can simplify the flattening process and help beginners achieve more consistent roti shapes.
Final Thoughts
Making soft and round roti with a roti maker becomes much easier when you focus on the dough, resting time, temperature, and cooking duration. Start with a soft dough, divide it into equal portions, flatten each ball evenly, and avoid overcooking.
With a little practice, a roti maker can help you prepare consistent homemade rotis while saving time and effort in your daily kitchen routine.